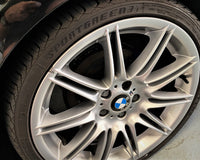

Swirl marks and scratches on a car's paintwork are common cosmetic issues that diminish the vehicle's aesthetic appeal. Swirl marks are often fine circular patterns caused by improper washing, while scratches are deeper blemishes resulting from various sources, including improper handling, environmental factors, and even automatic car washes.
Preparation and Inspection
Before undertaking any correction, it's crucial to conduct a thorough inspection under proper lighting conditions to assess the extent of swirl marks and scratches. This evaluation helps in choosing the appropriate products and techniques for effective removal without causing further damage to the paint.
Wash and Decontaminate
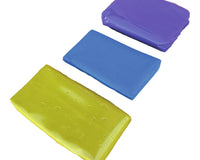
A meticulous pre-cleaning phase involves a thorough wash to remove surface dirt and contaminants. Utilize a quality car shampoo and a two-bucket washing method to minimize the risk of inflicting more scratches. Following this, employ a clay bar or a chemical decontamination product to remove embedded contaminants, preparing the surface for correction.
Choosing the Right Correction Tools and Products
Selecting the correct tools and products significantly impacts the correction process. Dual-action polishers equipped with foam or microfiber pads are recommended for swirl mark removal. For deeper scratches, consider a rotary polisher paired with cutting compounds. Always start with less aggressive products to avoid unnecessary paint removal.
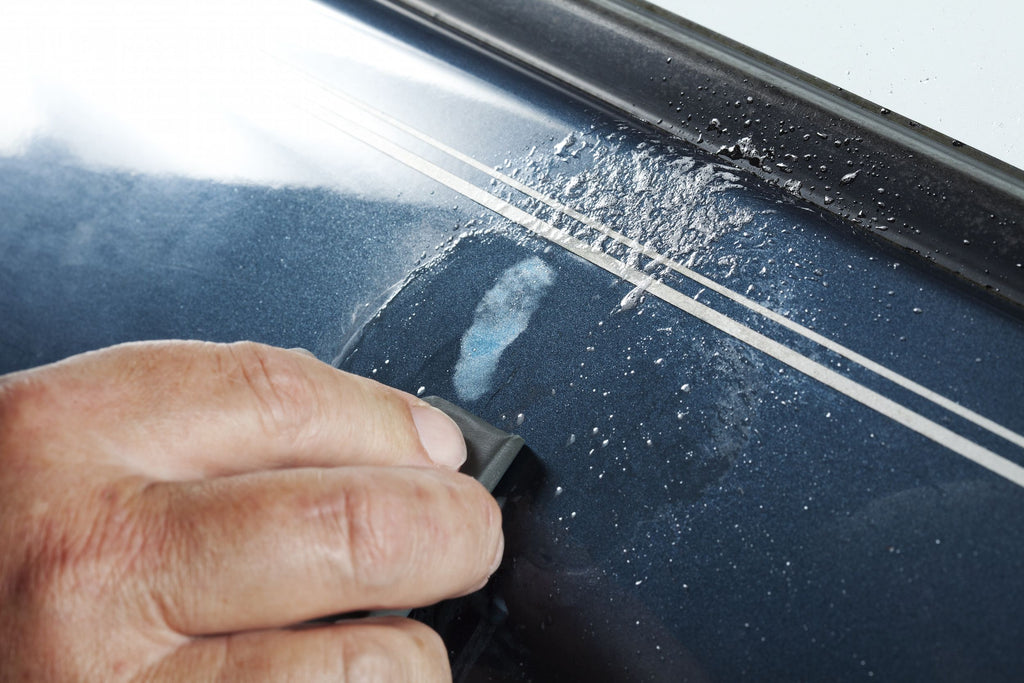
Testing in a Controlled Area
Before diving into the correction process, conduct a test spot in an inconspicuous area to gauge the effectiveness of your chosen products and techniques. This test allows you to fine-tune your approach, ensuring optimal results without causing any adverse effects to the paint.
Swirl Mark Removal Techniques
Begin the correction process by applying a small amount of polish on the pad and working it into the affected area using the dual-action polisher. Work in small sections, applying light to moderate pressure, and gradually increase if necessary. Keep the pad flat against the surface to avoid further damage.
Scratch Removal Techniques
For scratches, a more aggressive approach might be required. Use a rotary polisher and a cutting compound, applying it with a wool pad. Employ the same cautious approach as with swirl marks, working in manageable sections while monitoring progress closely to prevent overheating the paint.
Polishing and Finishing
Following swirl mark and scratch removal, use a fine polish to refine the surface. This step helps eliminate any remaining imperfections and restores gloss. Ensure the paint surface is thoroughly clean before applying a protective layer of wax or sealant to shield against future damage.
Paint Thickness Measurement
Before commencing any correction work, consider measuring the paint thickness using a paint thickness gauge. This tool allows you to identify areas with thinner paint, where excessive correction could compromise the clear coat. Understanding the paint's thickness helps in tailoring the correction process to avoid over-polishing and potential paint damage.
Techniques for Deep Scratch Removal
When dealing with deeper scratches that extend through the clear coat and into the base coat, additional techniques may be necessary. Wet sanding, a delicate method involving very fine sandpaper and lubrication, might be required. However, this process demands expertise to avoid further damage and is typically recommended for professional detailers.
Understanding Paint Correction Products
Utilizing a range of paint correction products is crucial for varying degrees of swirl marks and scratches. Cutting compounds, abrasive polishes, and finishing polishes differ in their abrasive levels and are selected based on the severity of imperfections. Understanding these products' characteristics aids in choosing the right ones for different stages of the correction process.
Pressure and Speed Control
Maintaining proper pressure and speed control during the correction process is fundamental. Applying excessive pressure or high speeds can generate heat, which might damage the paint surface. Instead, moderate pressure and adjusting machine speeds according to the severity of imperfections ensure safe and effective correction.
Inspecting for Holograms and Buffer Trails
After correction, inspect the paint surface under various lighting conditions to detect any holograms or buffer trails. Holograms, also known as buffer trails or swirls, might appear as light refractions and need further correction. To address these issues, refine the finish using a finer polish or a jeweling product to eliminate such imperfections.
Post-Correction Paint Protection
Following the correction process, apply a robust paint protection product such as ceramic coating or paint sealant. These products provide durable protection against environmental contaminants and UV damage, ensuring the paint remains in pristine condition for an extended period.
Final Inspection and Maintenance
Conduct a final inspection under proper lighting conditions to ensure all imperfections have been adequately addressed. Regular maintenance, such as employing proper washing techniques and avoiding abrasive materials, will help prevent swirl marks and scratches from reoccurring.
By focusing on paint thickness measurement, advanced scratch removal techniques, understanding correction products, controlling pressure and speed, inspecting for imperfections, and applying effective paint protection, you'll effectively enhance the appearance of your vehicle while safeguarding its paintwork.
Conclusion
Expertly removing swirl marks and scratches demands patience, precision, and the right tools and techniques. By adhering to proper preparation, testing, and correction methods, achieving a flawless finish is possible while safeguarding the integrity of your vehicle's paintwork.