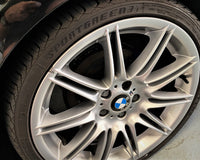

Keeping your car's rims clean and well-maintained not only enhances the overall appearance of your vehicle but also helps prolong the life of your wheels. Rims are prone to accumulating brake dust, road grime, and other contaminants, which, if left unattended, can lead to corrosion and damage.
In this comprehensive guide, we'll walk you through the step-by-step process of rim detailing, from cleaning to protecting, to ensure your wheels shine and remain in pristine condition.
Prepare Your Wheels
Before delving into the rim detailing process, it's essential to prepare your wheels for cleaning and protection. Preparing your wheels properly ensures that the cleaning products work effectively and prevents any potential damage to the rims or wheel components. Follow these steps to prepare your wheels:
- Park on a Flat Surface: Find a flat surface to park your car and engage the parking brake. Parking on a level surface helps ensure stability and safety while working on your wheels.
- Allow the Wheels to Cool: If you have been driving, allow your car's wheels to cool down before starting the cleaning process. Hot rims can cause wheel cleaner or other products to dry too quickly, leading to less effective cleaning results. Waiting for the wheels to cool down also prevents potential burns or injuries from handling hot surfaces.
- Remove Hubcaps or Wheel Covers: If your vehicle has hubcaps or wheel covers, remove them before starting the detailing process. Hubcaps can accumulate dirt and grime over time, and removing them allows you to clean the wheels thoroughly, including the areas usually covered by the hubcaps.
Cleaning the Rims
Cleaning your rims effectively is a crucial step in rim detailing, as it removes brake dust, road grime, and other contaminants that can lead to corrosion and deterioration. Follow these steps for a thorough rim cleaning:
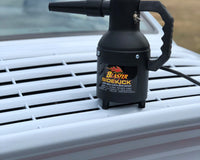
- Rinse the Wheels: Begin by rinsing off your car's wheels using a hose with a nozzle attachment or a pressure washer. The initial rinse helps to remove loose dirt, debris, and surface contaminants, making the cleaning process more manageable.
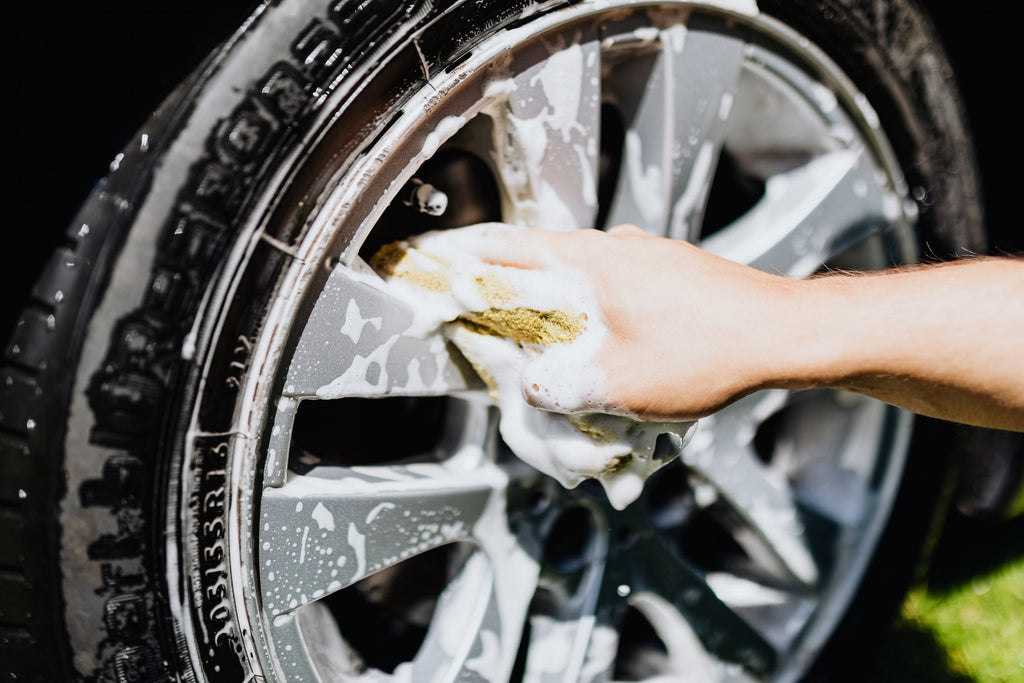
- Apply Wheel Cleaner: Next, apply a suitable wheel cleaner to one rim at a time. You can choose either a dedicated best wheel cleaner or use a diluted solution of car wash soap and water. Make sure to cover the entire rim, including the spokes, the face of the wheel, and the inner barrel.
- Allow the Cleaner to Dwell: Let the best wheel cleaner dwell for the recommended amount of time, typically a few minutes. During this time, the cleaner breaks down and loosens stubborn brake dust, grease, and road grime, making it easier to remove.
- Agitate with Wheel Brush: After allowing the cleaner to dwell, use a soft bristle wheel brush or a long-reach brush to agitate and scrub the surface. Work the brush gently into the intricate areas, such as the lug nut holes and around the spokes.
- Clean the Inner Barrel: If your rims have a deep inner barrel, use a long-reach brush or a dedicated wheel brush to clean this area thoroughly. The inner barrel often accumulates a substantial amount of dirt and brake dust, which can affect the overall appearance of your wheels.
- Rinse Off the Cleaner: After agitating and scrubbing, thoroughly rinse off the wheel cleaner and loosened contaminants. Use a hose or a pressure washer with moderate water pressure to ensure that all residues are washed away.
Cleaning and Dressing the Tires
Follow he following steps to clean and dress your tires, give them a shiny look and long-lasting life
- Apply Tire Cleaner: To clean your tires, spray a suitable tire cleaner onto the sidewalls of each tire. Use a best tire cleaner to remove dirt, road grime, and old tire dressing effectively.
- Scrub the Tires: Use a dedicated tire brush or a soft bristle brush to scrub the tire sidewalls thoroughly. Pay attention to any raised lettering or designs on the tires to ensure a comprehensive clean.
- Rinse Off the Tire Cleaner: After scrubbing, rinse off the tire cleaner with water to reveal clean and refreshed tire sidewalls.
- Apply Tire Dressing: Once the tires are clean and dry, apply a suitable tire dressing to enhance their appearance and protect against cracking and fading due to UV rays. Use a tire dressing applicator pad or a sponge to apply the dressing evenly to the sidewalls.
Drying the Rims
After the thorough cleaning process, it's crucial to dry your rims properly to avoid water spots and promote a sparkling finish. Water spots occur when the water evaporates and leaves behind mineral deposits, which can be unsightly on your otherwise clean wheels. Follow these steps to ensure effective drying:
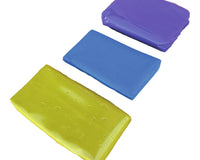
- Use Clean Microfiber Towels: Have a stack of clean and absorbent microfiber towels ready for drying. Microfiber towels are gentle on the rims and provide excellent absorbency, making them ideal for this task.
- Dry the Surface Thoroughly: Starting from the top, work your way down, carefully drying every part of the rims and spokes. Pay attention to hard-to-reach areas, crevices, and behind the spokes, where water tends to accumulate.
- Check for Water Spots: After drying, inspect your rims for any water spots that might have formed. If you notice water spots, use a quick detailer or a mixture of water and white vinegar to remove them. Spray the affected areas and gently wipe with a clean microfiber towel until the water spots are gone.
- Verify a Clean and Dry Surface: Ensure that your rims are completely dry and free from water spots before proceeding to the next step. A clean and dry surface provides an ideal base for applying wheel sealant or wax.
Applying Wheel Sealant or Wax
Applying a high-quality wheel sealant or wax is crucial for protecting your rims and keeping them looking their best. The sealant or wax creates a barrier between the wheels and contaminants, making cleaning easier and preventing damage. Follow these steps to apply wheel sealant or wax effectively:
- Choose the Right Product: Select a best wheel sealant or wax that matches your rim material and finish. Some products are formulated specifically for chrome, clear-coated, or alloy wheels. Read the product label for guidance on suitable wheel types and application instructions.
- Begin with a Clean Surface: Ensure your rims are clean and dry before applying the sealant or wax. Any remaining dirt or residue could interfere with the product's bonding and effectiveness.
- Apply the Sealant or Wax: Using a dedicated wheel cleaner applicator pad or a clean microfiber sponge, apply a thin and even layer of the sealant or wax to the rims. Work section by section, ensuring complete coverage on the face of the rims, spokes, and inner barrel (if applicable).
- Allow to Cure: Follow the manufacturer's instructions regarding the curing time. Typically, you'll need to let the sealant or wax sit on the rims for a specific duration until it hazes over.
- Buff Off the Residue: Once the sealant or wax has cured, use a clean microfiber towel to buff off the hazed residue. Buff the rims until they gleam and the protective layer is evenly distributed.
Regular Maintenance
Regular maintenance is essential to keep your rims in top condition and maintain their shine. Here are some crucial tips for ongoing rim maintenance:
Regularly wash your car and rims: Aim to wash your car and rims every two weeks or more frequently if needed. Swiftly removing brake dust and contaminants prevents them from building up and causing potential damage.
Choose pH balanced cleaners: Opt for pH balanced wheel cleaners specifically designed for your type of rims. Acidic cleaners can harm certain wheel finishes, so it's vital to use products suitable for your wheel material.
Use soft bristle brushes: Refrain from using harsh or abrasive brushes that could scratch the rims. Stick to soft bristle brushes and dedicated wheel cleaning tools to preserve the integrity of the rim's finish.
Rotate tires regularly: Follow the recommended intervals for tire rotation. Regular rotation ensures even wear and tear distribution across the tires and rims, maintaining the wheels in better condition.
Avoid high-pressure cleaners: While a pressure washer can be helpful for rinsing off loose dirt, avoid using high-pressure settings too close to the rims. High pressure can force water and contaminants into sensitive areas, potentially causing damage. Use moderate water pressure for effective cleaning without risking harm.
Always choose suitable cleaning products and tools for your specific wheel type and material to ensure safe and effective rim detailing. Proper rim maintenance not only keeps your car looking great but also contributes to the overall value and performance of your vehicle.
Final words
By regularly washing the rims of your car, following the above steps and keeping a good care of them, you can enjoy sparkling clean and protected wheels that complement the overall beauty of your car. Not only will your rims look great, but their longevity will also be enhanced, saving you money in the long run.